jsub (Open OnDemand)
Submitting a New Job
Submitting a new job involves the following three steps:
- Data Preparation: Set the working directory and prepare input files
- Script & Resource Settings: Select or edit the execution script and configure computational resources
- Submission Confirmation: Review your settings and submit the job
Use the tabs at the top of the screen to switch between steps.
Data Preparation
Setting Working Directory
- Enter the path directly in the "Working Directory" field, or click the "Browse" button to select a directory
- To create a new directory, click the
 button, enter a name, and click "Create".
Checking Disk Resources
The "Disk Resources" panel displays available disk capacity and usage.
Click "Refresh" to get the latest information.
Reviewing File List
The "File List" tab shows files and folders in the working directory.
Click the "Update List" button to refresh the contents.
File Upload

The "File Upload" tab allows you to upload files from your local computer to the server.
- Drag and drop files into the dashed area, or click to select files
- Once upload is complete, files are automatically added to the file list
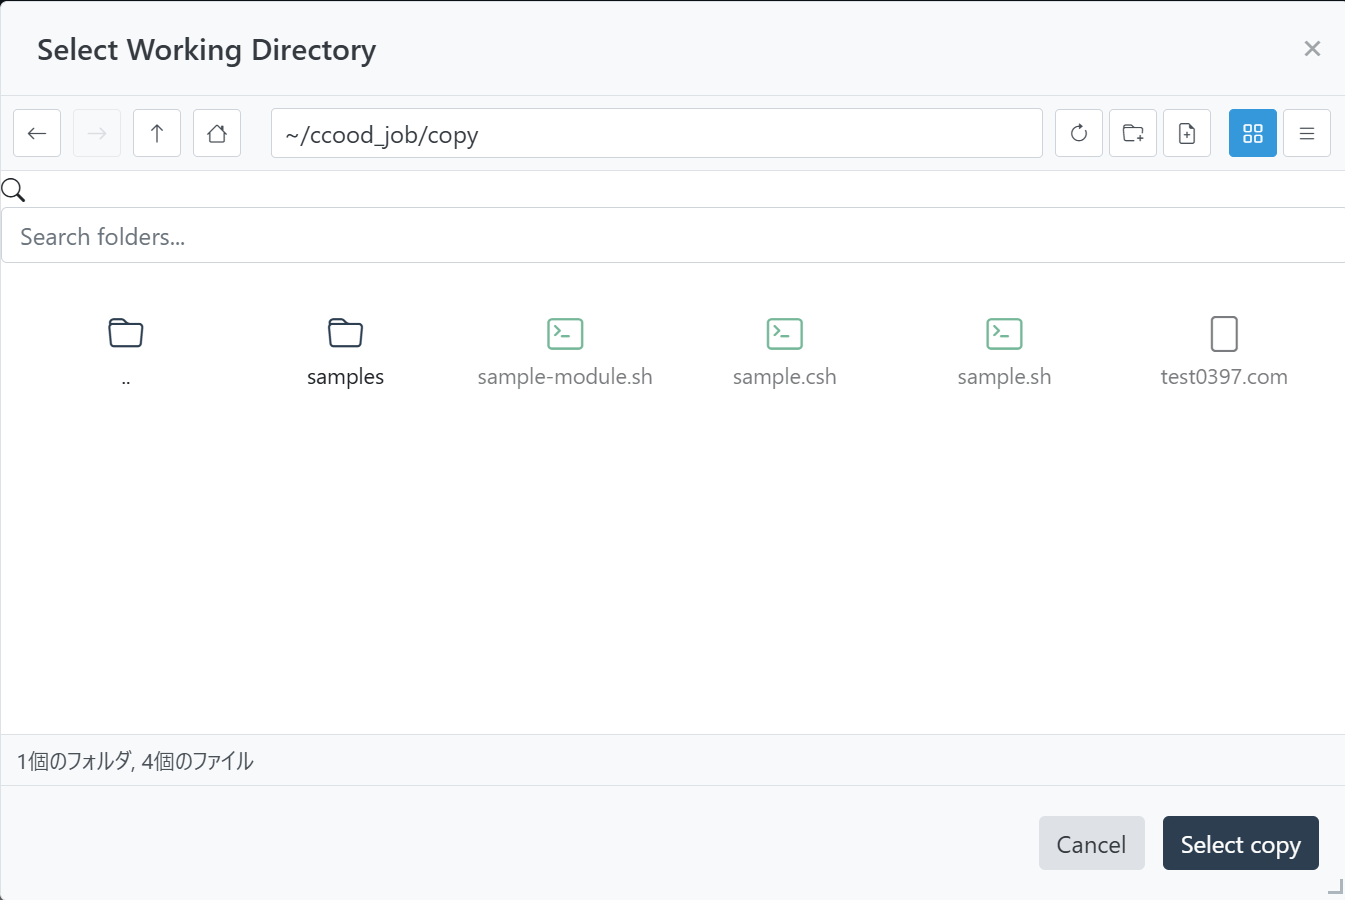
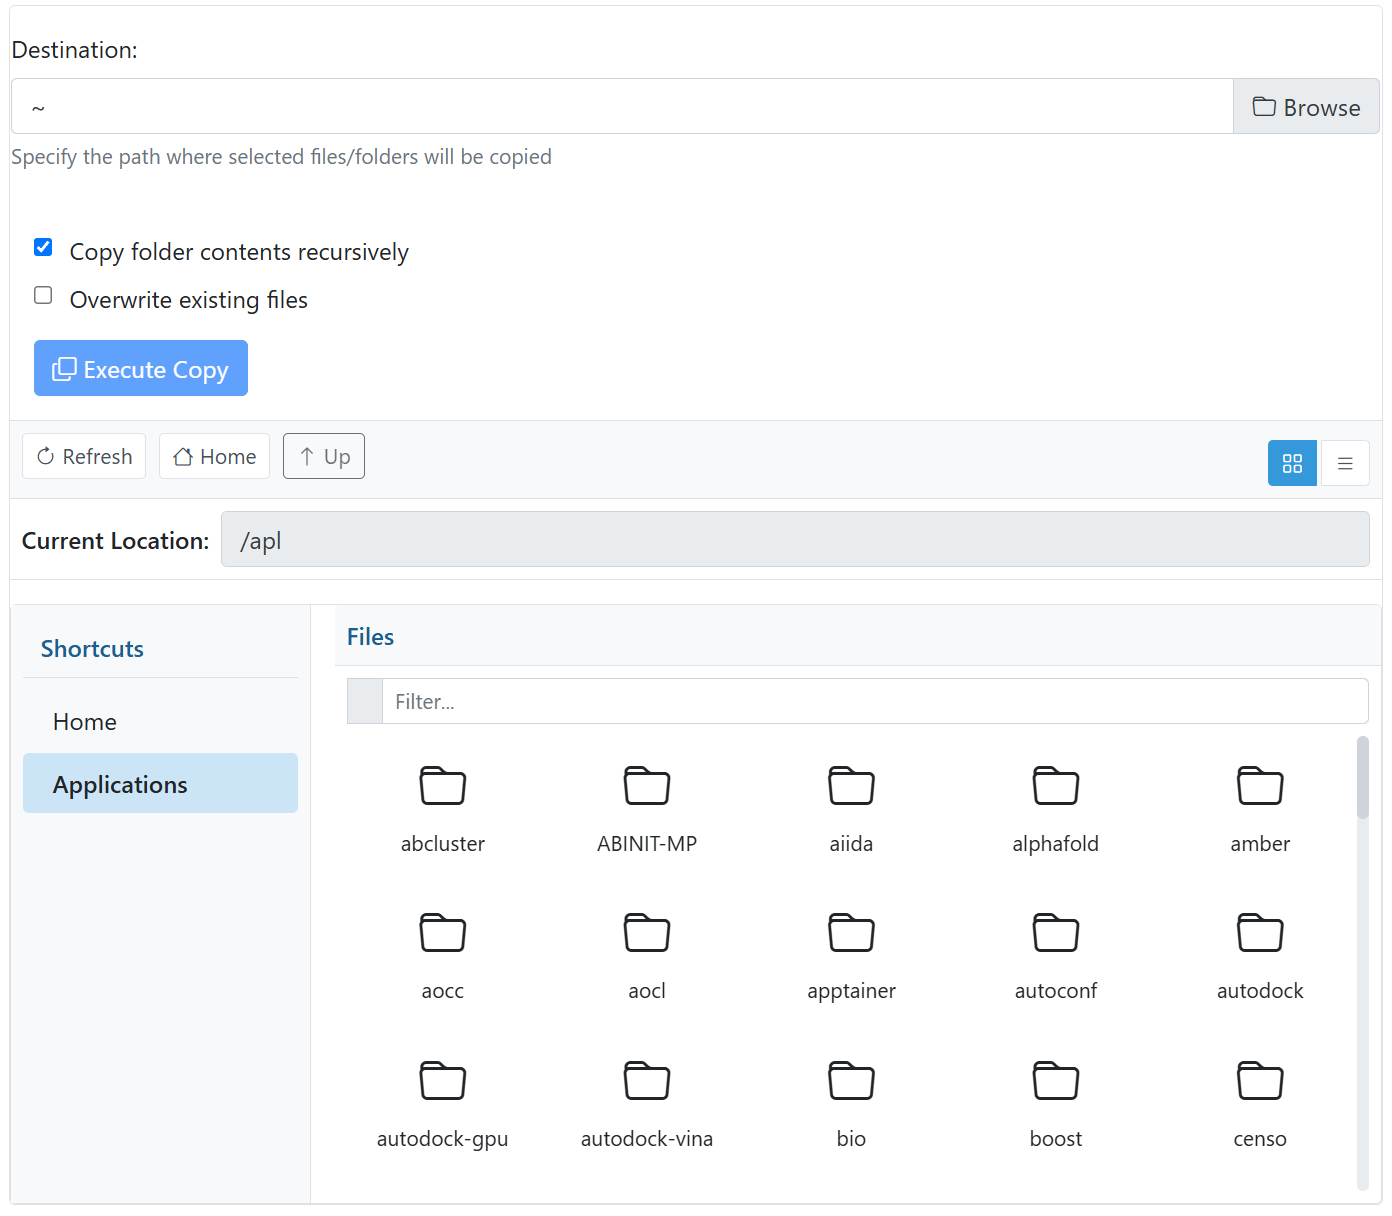
File Copy
The "File Copy" tab allows you to copy files from other locations on the server.
- Navigate to the source directory by clicking the left panel or double-clicking folders
- Select the files or folders you want to copy
- Enter the destination path in "Destination" or select using the "Browse" button
- Select options as needed, such as recursive copy or overwrite.
- Click the "Execute Copy" button
Script & Resource Settings
Selecting/Editing Execution Scripts
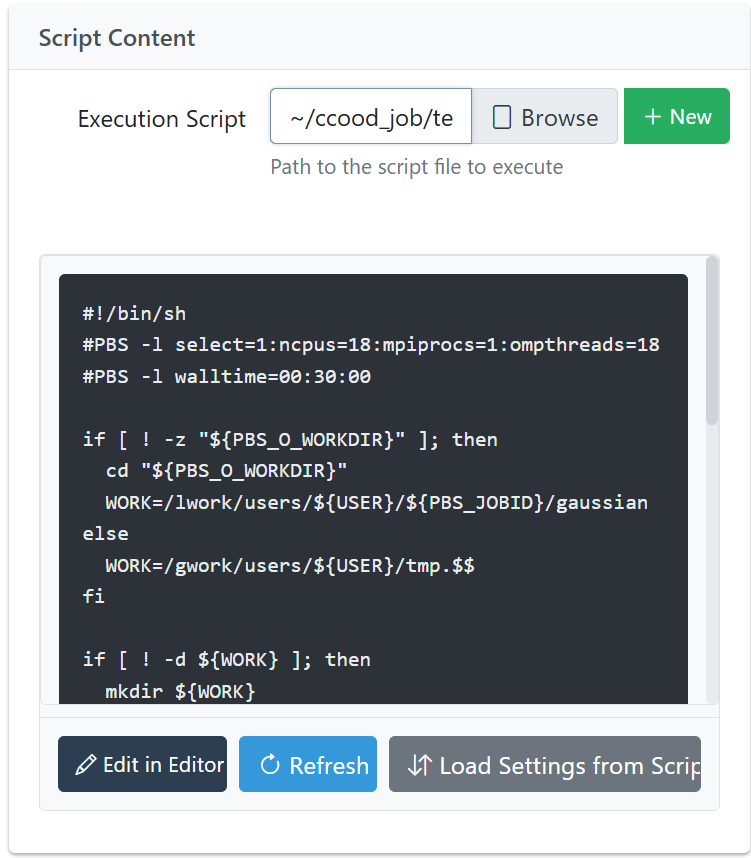
- Enter the path directly in the "Execution Script" field, or click the "Browse" button to select a script file
- To create a new script, click the "New" button
Using the Script Editor
- Click the "Edit in Editor" button to open the script editor
- Make changes to the script and click "Save" to apply them
- Click the "Refresh" button to reload the script content
Configuring Computational Resources
You can configure script resource settings in the right form:
- Job Type: Choose from Standard Computation, GPU Computation, or Large Memory
- Node Count: Number of nodes to use
- CPU Cores: Number of CPU cores to use (or select from "Core Preset" buttons)
- GPU Count: For GPU computation, number of GPUs to use
- Wall Time: Set the job’s maximum runtime (HH:MM:SS format)
- MPI Processes: Number of MPI parallel processes
- OpenMP Threads: Number of OpenMP parallel threads
Additional Options
Expanding the "Options" panel allows the following settings:
- Merge Standard Output and Error: Combine standard output and error into a single file
- No Rerun: Prevent automatic rerun of jobs in case of system failure
Script Integration
- Load Settings from Script: Automatically load settings from PBS directives in the script
- Apply Settings to Script: Apply current settings to the script
Submission Confirmation and Execution
Options
Setting Job Name
Enter a job identifier in the "Job Name" field.
If left blank, the script name will be used.
Email Notification Settings
- Check "Use Email Notifications"
- Enter the notification email address (default is the address registered with RCCS)
- Select notification timing (on start, on completion, on abnormal termination)
Reviewing Settings
The "Submission Confirmation" tab displays all settings configured so far.
Items to review:
- Data and work environment (working directory, execution script, job name)
- Resource settings (job type, node count, CPU cores, GPU count, execution time, etc.)
- Notification settings (output merge, email notifications)
Job Submission
- Review the settings
- If all settings are correct, click "Submit Job"
- Upon successful submission, a confirmation message is displayed and a job ID is issued
- You’ll be automatically redirected to the "Job List" screen, where your submitted job will appear.