SSH Key Generation and Login (TeraTerm version)
Last Update: Jan 8, 2026; remove md5 keys.
Introduction
The aim of this page is to explain how to login to RCSS supercomputer using Tera Term.
Installation of Tera Term
Tera Term can be downloaded from the following site.
https://teratermproject.github.io/index-en.html
SSH Key Generation
PuTTY type of key (.ppk) is also accepted.
If you already have a key file, please register your public key, or if you have already registered your public key, let's try to login.
Launch Tera Term

After launching Tera Term, cancel the connection.
Then choose "SSH KeyGenerator" from "Setup" menu to generate your SSH key.
Key Generation (1) - Key Type
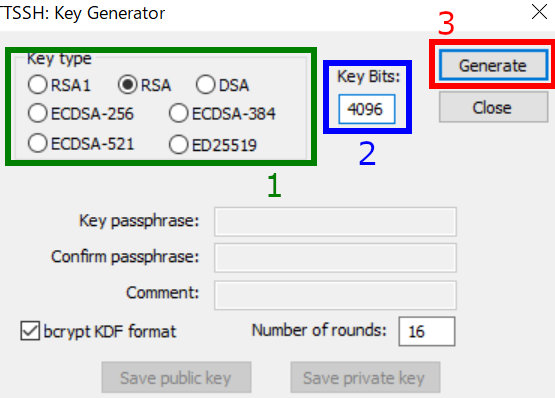
You may see SSH key generator window like above.
1. Choose Key Type
We, RCCS, recommend ED25519, ECDSA-384, ECDSA-256, and RSA 4096 bits* types of keys. If you have no preference, please try ED25519.
- If you want to use RSA keys, please use Tera Term 5.0, 4.107, or later version.
- ECDSA-521 keys are disabled due to the issue on PuTTY 0.68-0.80.
2. Choose Key Bits Length (RSA only)
You can choose length of key here in case of RSA. 4096 or more is recommended.
3. Begin Key Generation
After the specification of key type (and length), click this to generate key.
Key Generation (2) - set private key passphrase and save keys
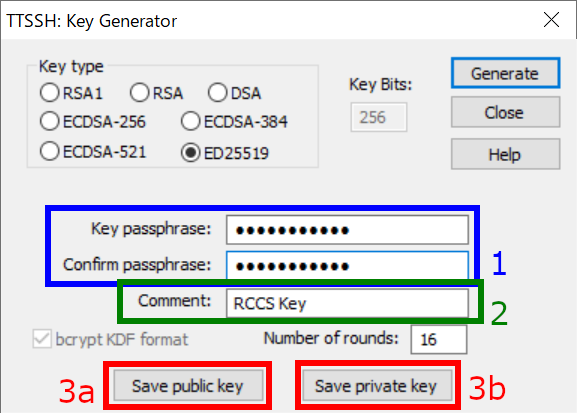
After the generation of keys, you can set passphrase and comment that key.
1. Private key passphrase
You can set passphrase for private key here. We, RCCS, recommend passphrase of 10 or more characters contaning 4 types of characters - "lower-case", "upper-case", "number", and "symbol".
2. Set a comment (optional)
If you are using (or planning to use) more than one key, adding appropriate comment maybe helpful to you.
3. Save public and private keys
Click buttons 3a and 3b to save public and private keys, respectively.
Register Public Key (Common)
You need to register the public key before login. Please register your public key according to the instructions in https://ccportal.ims.ac.jp/en/account.
Login
preparations
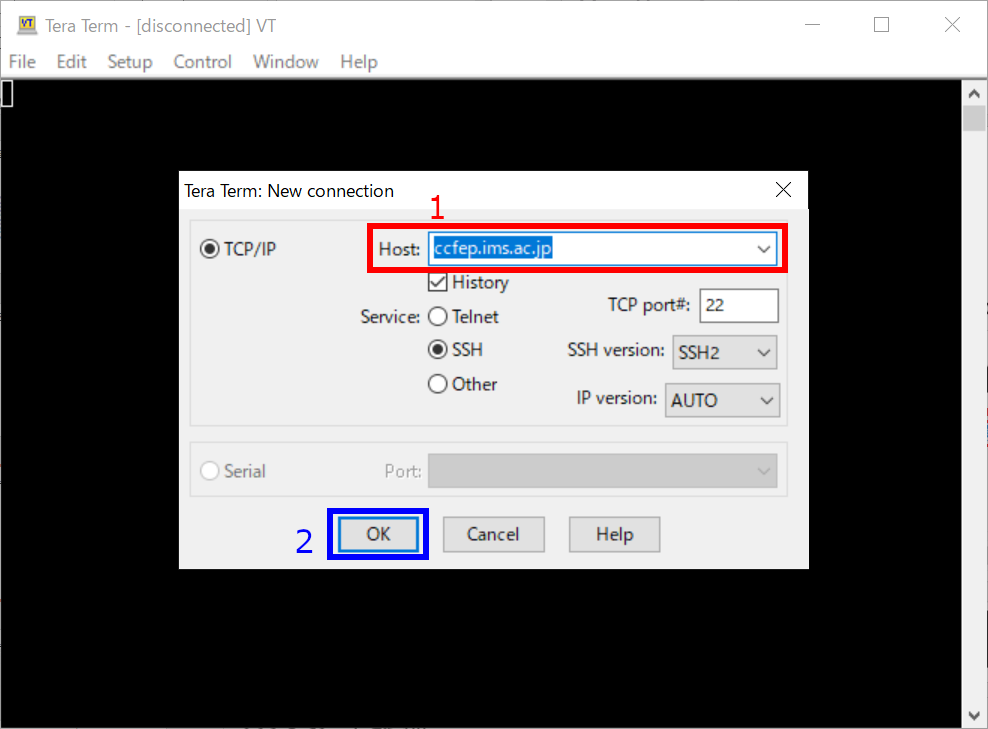
Restart Tera Term or select "New connection" from "File" menu to go back to first window. Type ccfep.ims.ac.jp in Host: textbox and then click OK to proceed.
Security Alert upon first Connection
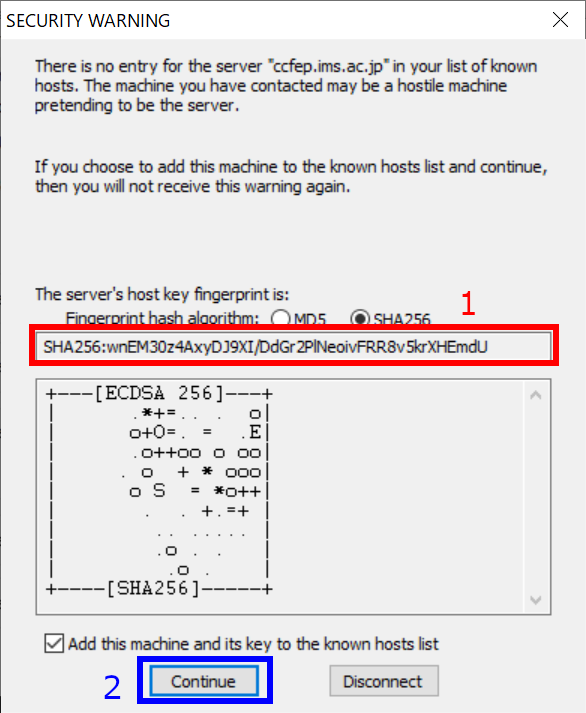
You may see warning dialog like above upon first connection. Please check the fingerprint of the server (1). It must match with either of the fingerprint in the list below.
- wnEM30z4AxyDJ9XI/DdGr2PlNeoivFRR8v5krXHEmdU (SHA256)
- 0KL38Yn/kBee1pAuxyKwenEwXjtPxr9ZElolfVqXvbI (SHA256)
- Nhg+9Lgj3XeuW//A/j7jqgUJlIxWehryCtStIp1Dir (SHA256)
Click "Continue" (2) if the fingerprint is valid.
Input Login Information
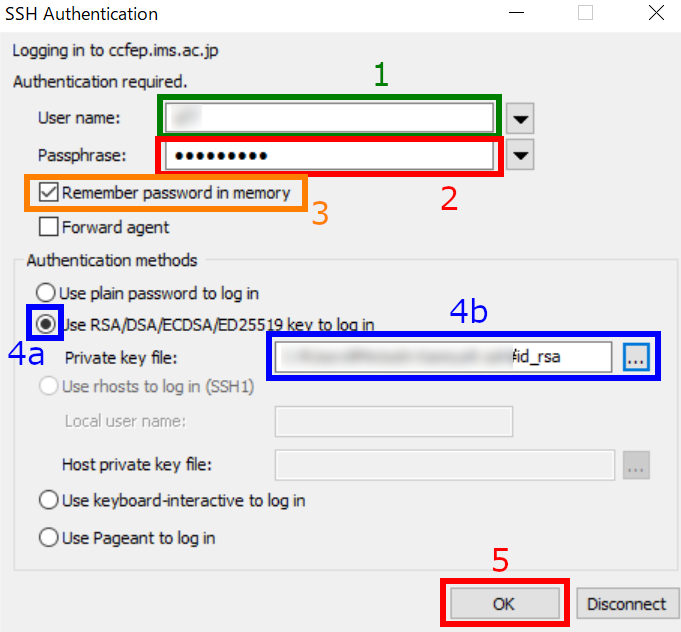
You need to input username, private key file path etc. in this window.
1. Your user account name given by RCCS (three-letter ID)
2. Input the passphrase of the private key.
3. (optional) Uncheck to improve security.
4. Check that item (4a) and then input private key file location.
5. Finally, click OK to proceed.
(You can set default user name and authentication method including private key location in "Setup" -> "SSH Authentication". Please don't to forget to run "Setup" -> "Save setup" after the SSH authentication setup.)
Login Completed!
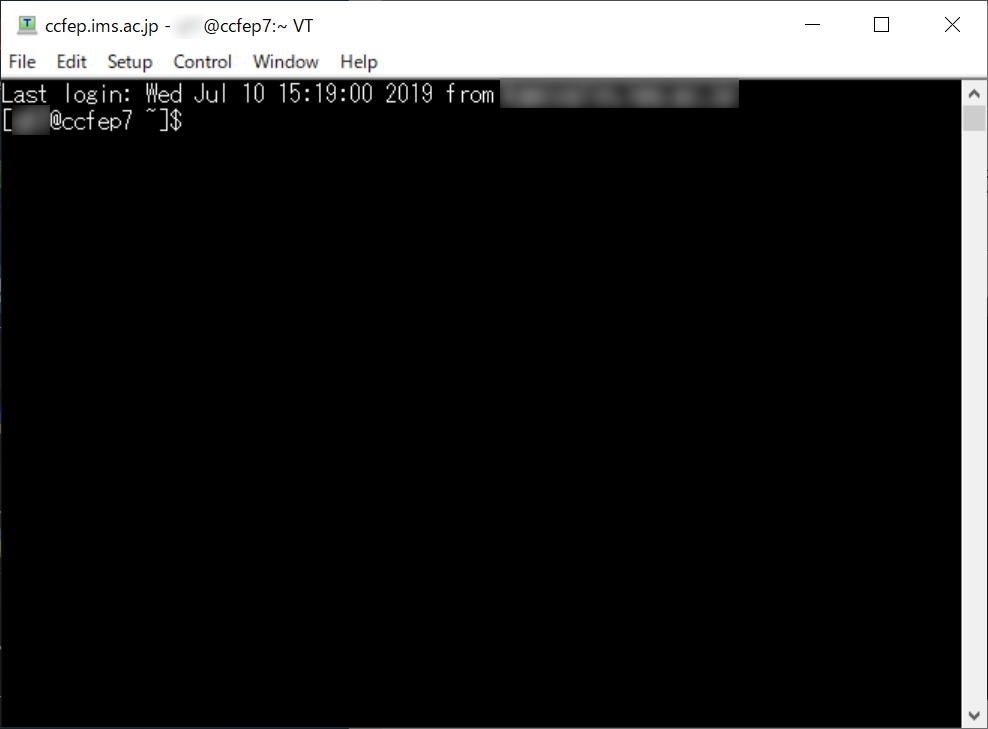
If everything works fine, you will successfully login to the login server.